2024
qalc yampad
2023
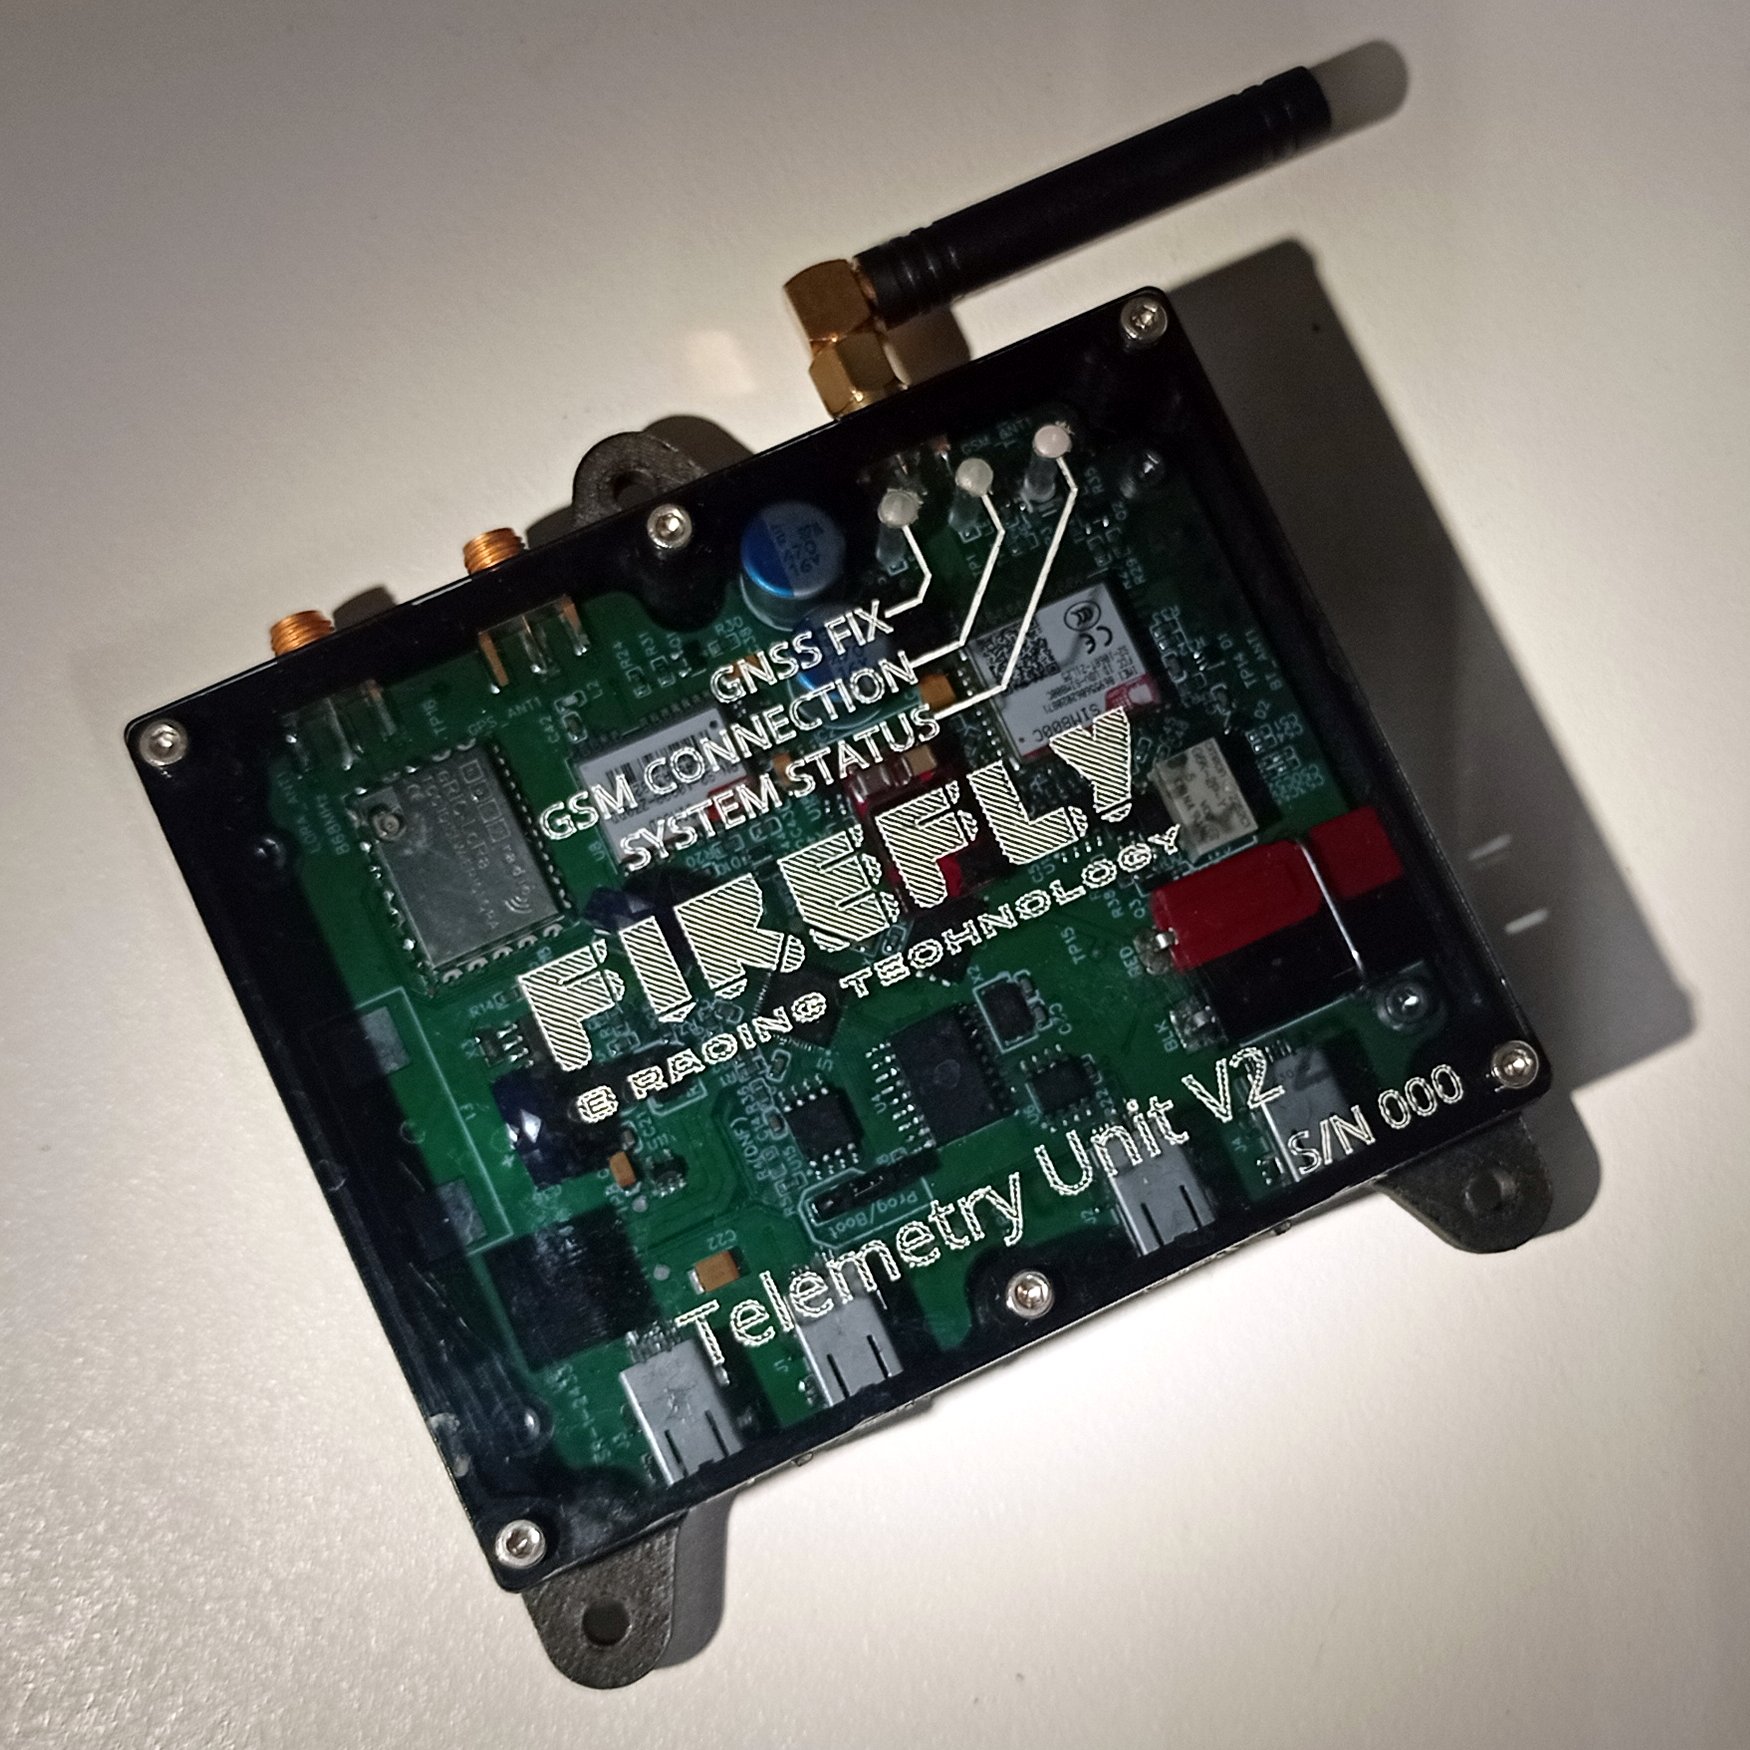
Telemetry Unit V2
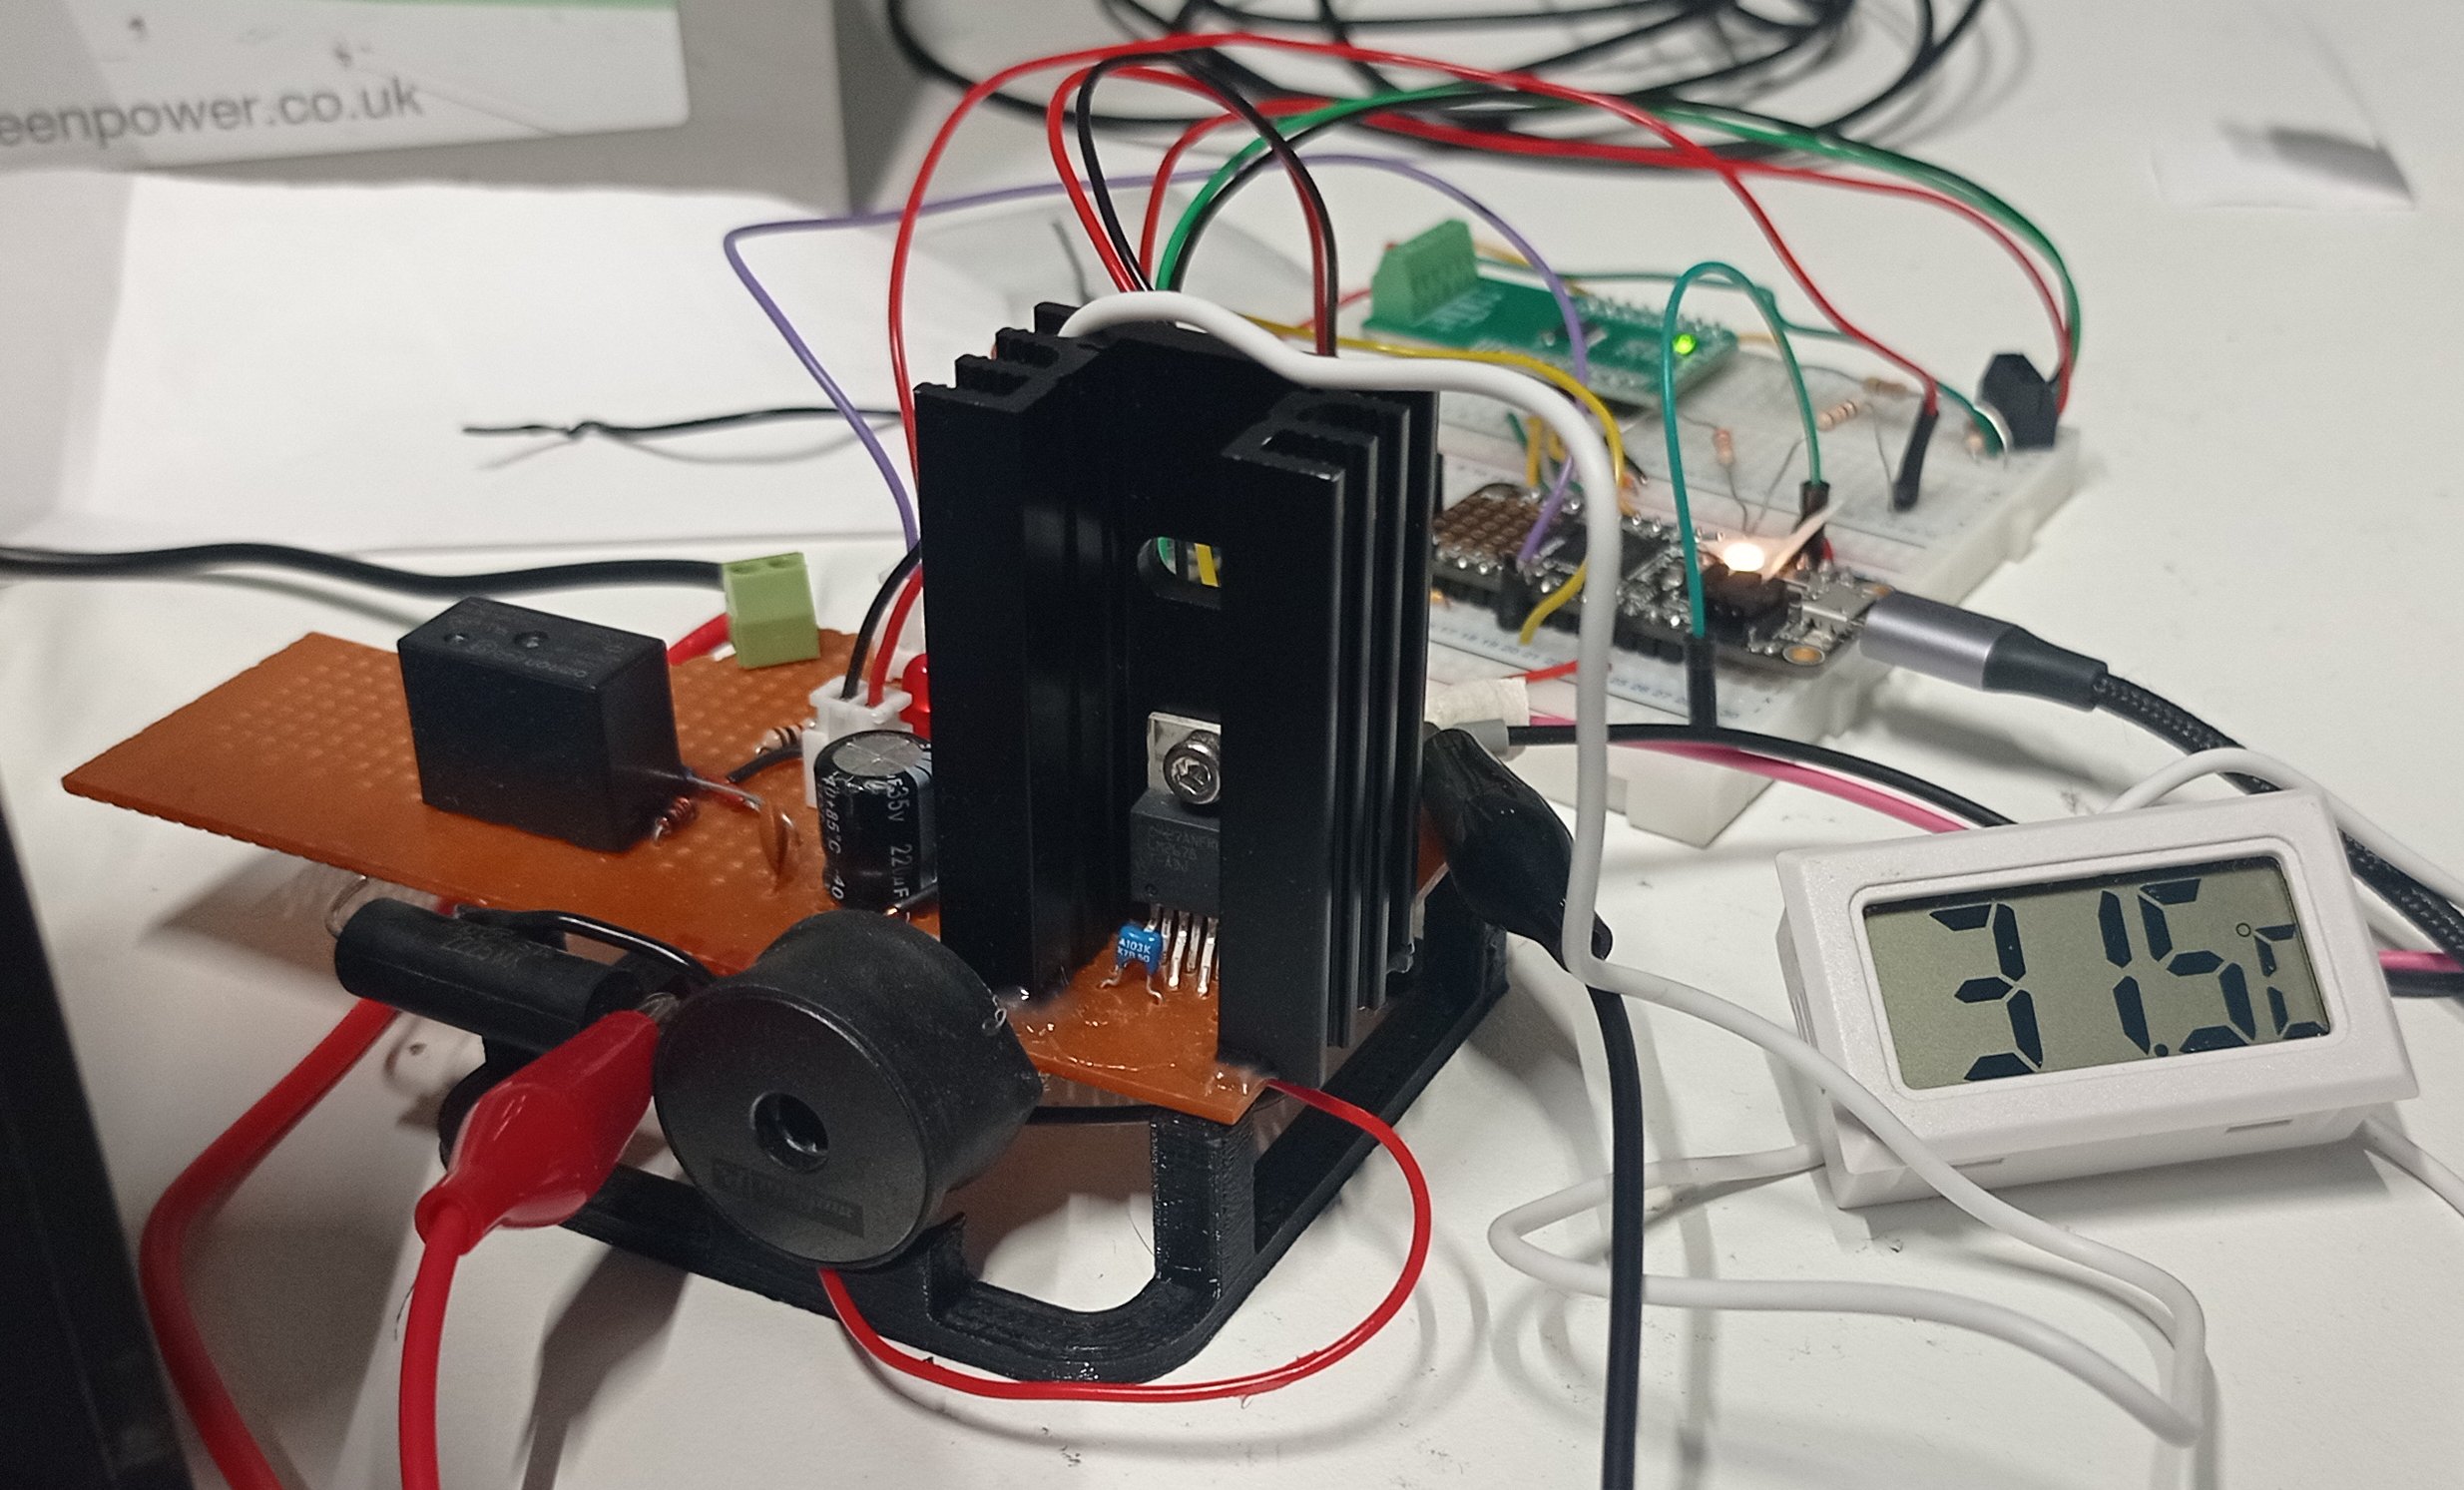
Capacity-optimized battery charger
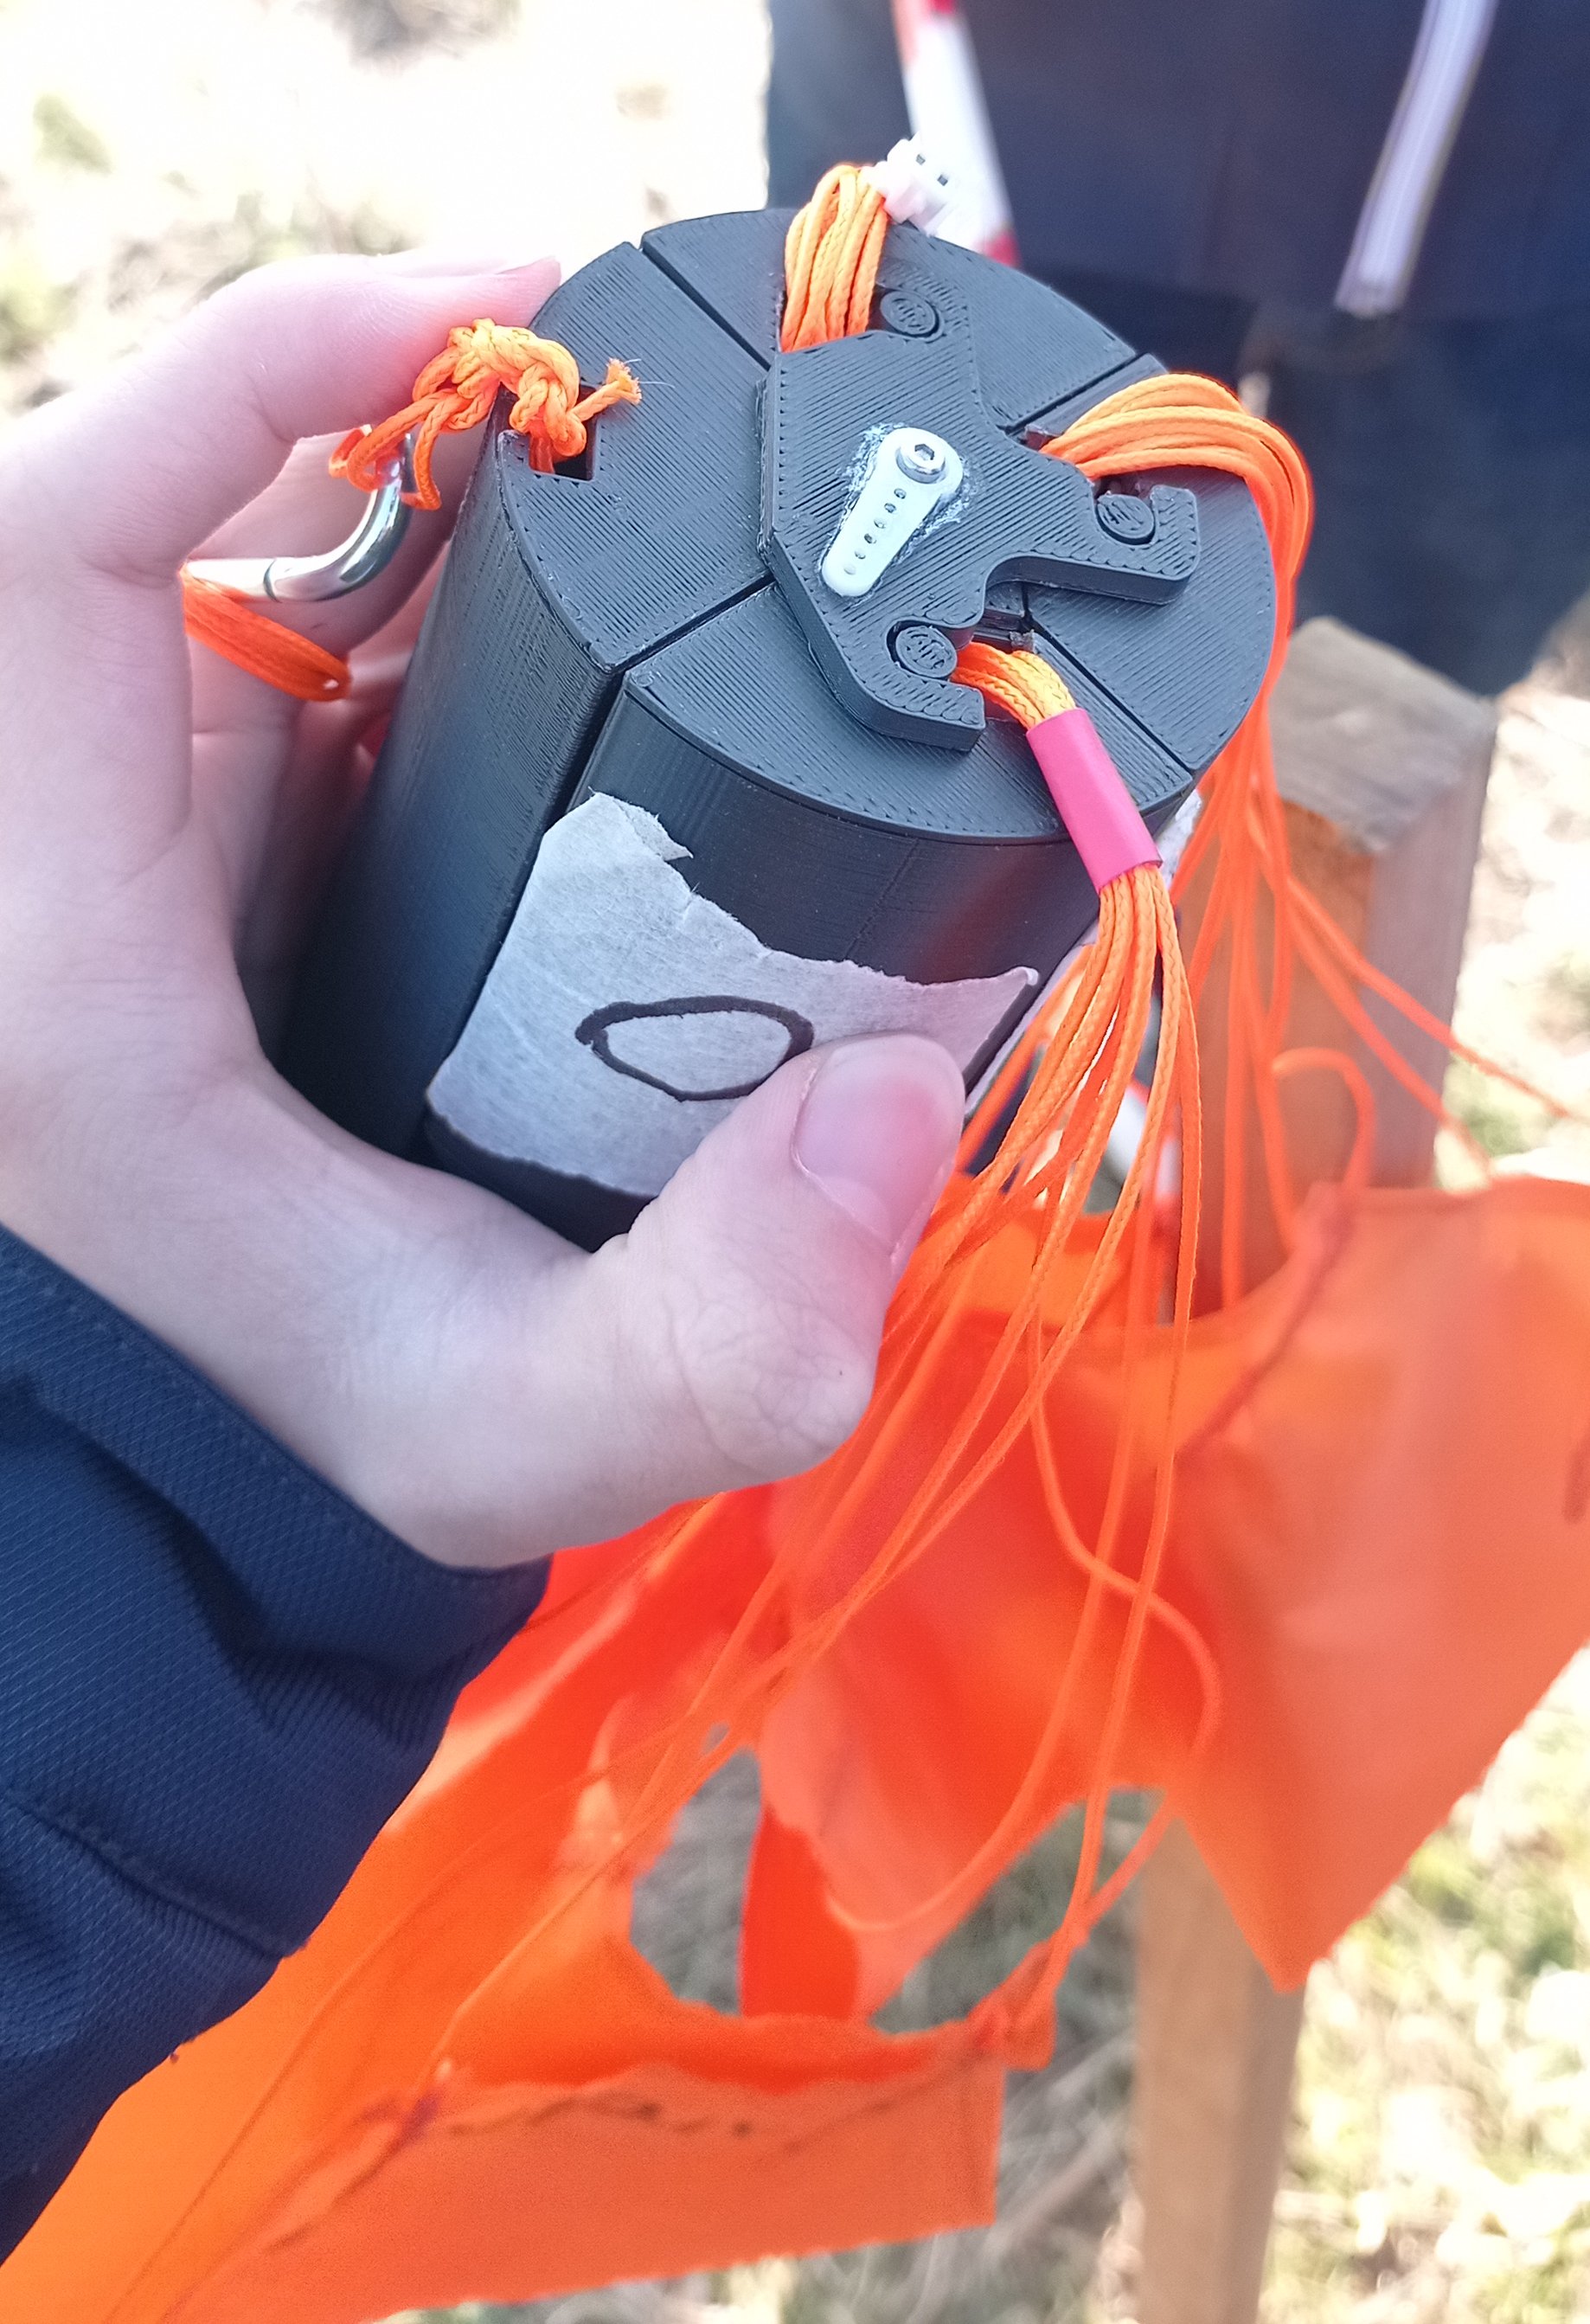
Rocket-launched mesh network experiment (CanSat)
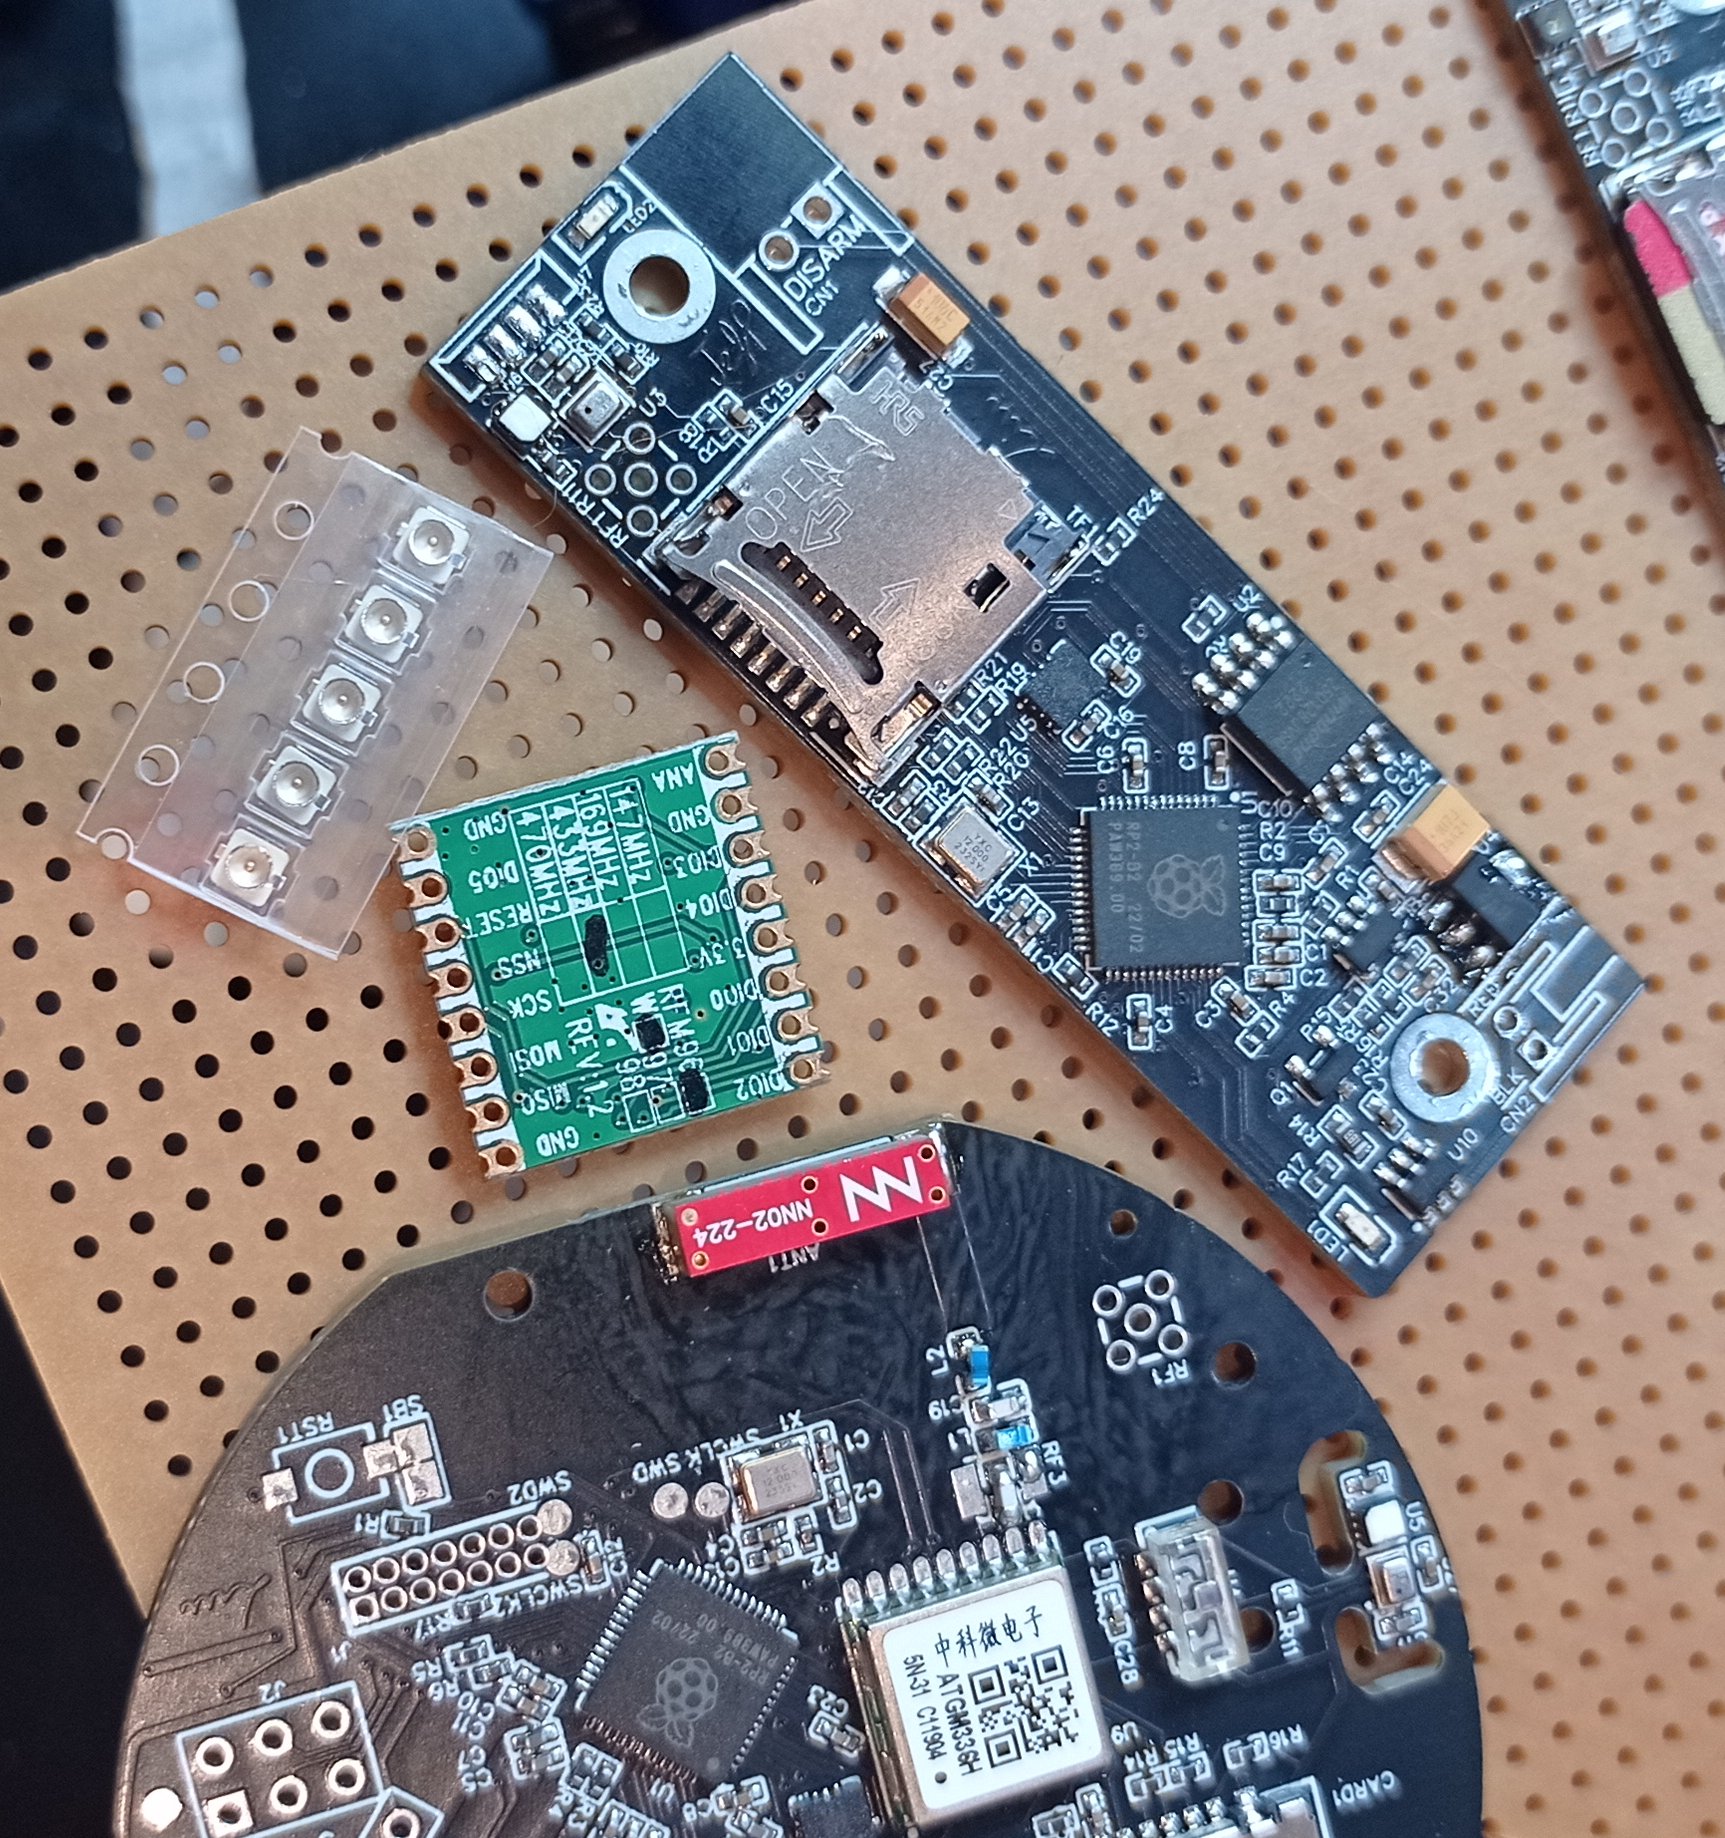

(work in progress)